By Mitch Montrose
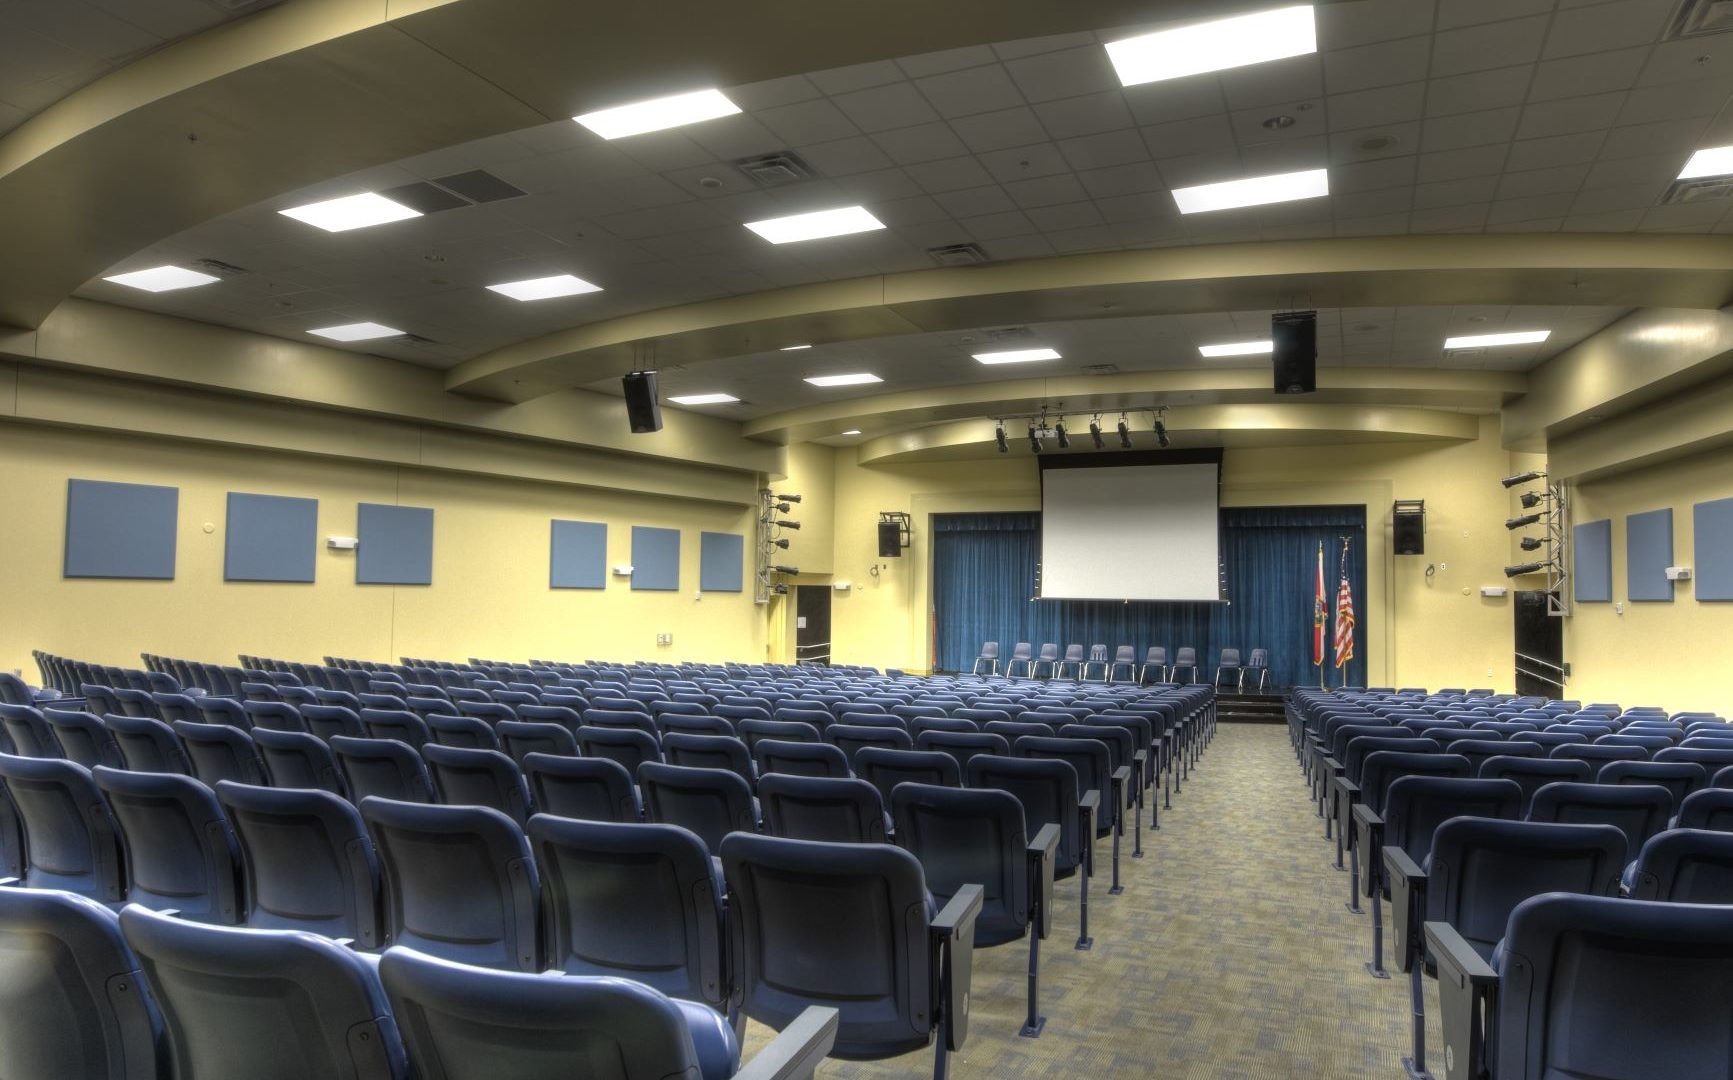
Auditoriums, cafetoriums, gymnasiums and multipurpose rooms. You certainly have one or more on campus, and each space comes with its own character. In older schools, not much thought was given to audiovisual equipment beyond loudspeakers in these rooms.
To this day, as AV integrators, we’re still battling form to achieve function. Many of these rooms were equipped with whatever gear budget allowed at the time. In addition, the installations were carried out by the schools’ facilities crew instead of dedicated AV technicians.
Time for a change? If not right away, you will be ready at some point in the near future. There are many things to consider when upgrading or installing new AV equipment in a space that had none before or utilized portable setups.
My focus here today is to touch only briefly on audio, or auditorium sound systems. I’d prefer to dig into visual presentation, and how we can select and install the right equipment for your space.
Consider this: Not all students will speak up when they can’t make out letters, words or characters on a projection screen or display. It’s our job as integrators to ensure they won’t have to.
Most medium to large school assembly rooms are best served using projectors. Although display panels are getting larger, there’s nothing that matches the image size or stow-away advantages of a projection screen.
We’ve installed motorized screens that reach over 16 feet in width for many schools, and in rooms that would only be considered “medium” in size. I’m not saying more is better; I’m just preparing you for what will be quite a project, requiring lifts and multiple hands. Even the smaller screens weigh hundreds of pounds.
Make absolutely sure your load capacity follows the “5X” or five times rule. If your screen weighs 250 pounds, you must secure it as if it weighed 1,000 pounds. If there is a stage in your room, with light grid, backdrop curtains, and travelers, you’re in luck. This is a great place to secure the screen.
Make sure the screen has enough black drop to clear the borders, and you can extend the screen (when down) to just a few inches off the stage. Without a stage, you can mount to any wall surface with adequate backing.
Toggle bolts through metal framing studs won’t cut it. The wall must be opened up, and a backing plate (wood works best) must span the width of the entire screen on the back side of the framing. Never use less than category 5 hardware. Ordering a screen with a relay that can be triggered by the projectors’ on-off button is a smart choice.
Projectors should always be selected with room characteristics in mind. Obviously, any room with a high degree of ambient light will need a higher lumens rating. The room size will also determine lumens rating as well as throw distance.
Once you’ve established how large your screen needs to be, select a projector with a throw distance and lens that fit. Most lenses will zoom in and out to some degree, but it’s always best to mount the projector in the middle of the throw distance range from the screen.
Most projector manufacturers have throw distance calculators on their web sites, but, if not, they are widely available.
Contrast ratio is very important when considering a screen and projector. The ratio for movies is as high as 80:1, where most anything else is as low as 15:1. A light meter and test patterns are needed to optimize contrast ratio, and tests should be conducted by an AV professional.
Once your screen and projector are installed, you’ll want the audio from whatever source you’re sending to the projector, to be routed to the room’s sound system. This could be the audio output jack on your presentation PC or laptop or a Blu-Ray player.
In many instances, this is difficult, so you’ll need to de-embed the audio from the HDMI source. There are several de-embedders available to accomplish this.
What you never want to do is run an audio line out from the projector itself to the sound board. Due to distance, this line will pick up a great deal of interference from the electrical lines in the room, as well as acting like a large antenna, picking up radio frequency interference.
Speaking of distance from source to projector, you cannot run HDMI, DVI, or even VGA, direct. Any distance of over 35-40 feet is too long for HDMI, and especially full 1080p, or 4K. HDMI over cat5/6 is a common method used to extend this distance up to about 150 feet.
An even better solution is HDbaseT, which will extend signal to over 100 meters and has another clear advantage. You are not only extending your audio/video signal, you are extending control signals, Ethernet, and even low voltages to the projector as needed. Many newer projectors have built-in HDbaseT receivers, so all that’s necessary is a compatible transmitter, and cable.
The last word on projectors has to be this: LASER! With any sizeable room, your projector will be mounted quite high off the floor. The convenience of not having to change lamps every 3,000 to 5,000 hours is a tremendous convenience.
The new laser projectors are boasting up to 25,000-hour lifespan, and that’s pretty impressive. The LED projectors also have a similarly long life but have limited output.
For the type of rooms this article is intended to address, you’re going to need some real firepower. Best of luck with your upgrades!
Mitch Montrose is founder and chief executive officer of Montrose & Associates, Inc., a Los Angeles-based commercial audio-visual integrator, www.montroseinc.com. A broadcast engineer by training, Mitch has been in the industry for almost 40 years, designing and building broadcast, post-production, and AV systems for some of the world’s largest corporations.


